
So without further ado...


The process is actually quite easy. If you have a garage that you can do this in the project will be much easier. I live in an apartment with no outdoor space so everything had to be done inside which made it a little more difficult but nonetheless it is still a relatively easy project to do.
The materials you will need are:
Poster board (I used 17 pieces)
Circle Die-Cut (I got mine from Michael's for about $12, make sure you get one of coupons they always have on the internet or in the store flyer)
Stapel Gun
Gold Spray Paint
Plywood
Molding
My first step was to cut all the circles with the die-cut, I used magazines to put under the poster board while I cut which made it a little hard, a better bet would be to purchase a mat used for cutting. I was trying to save money but it would have made things a lot easier. Here is about 3/4's of the circles I needed.

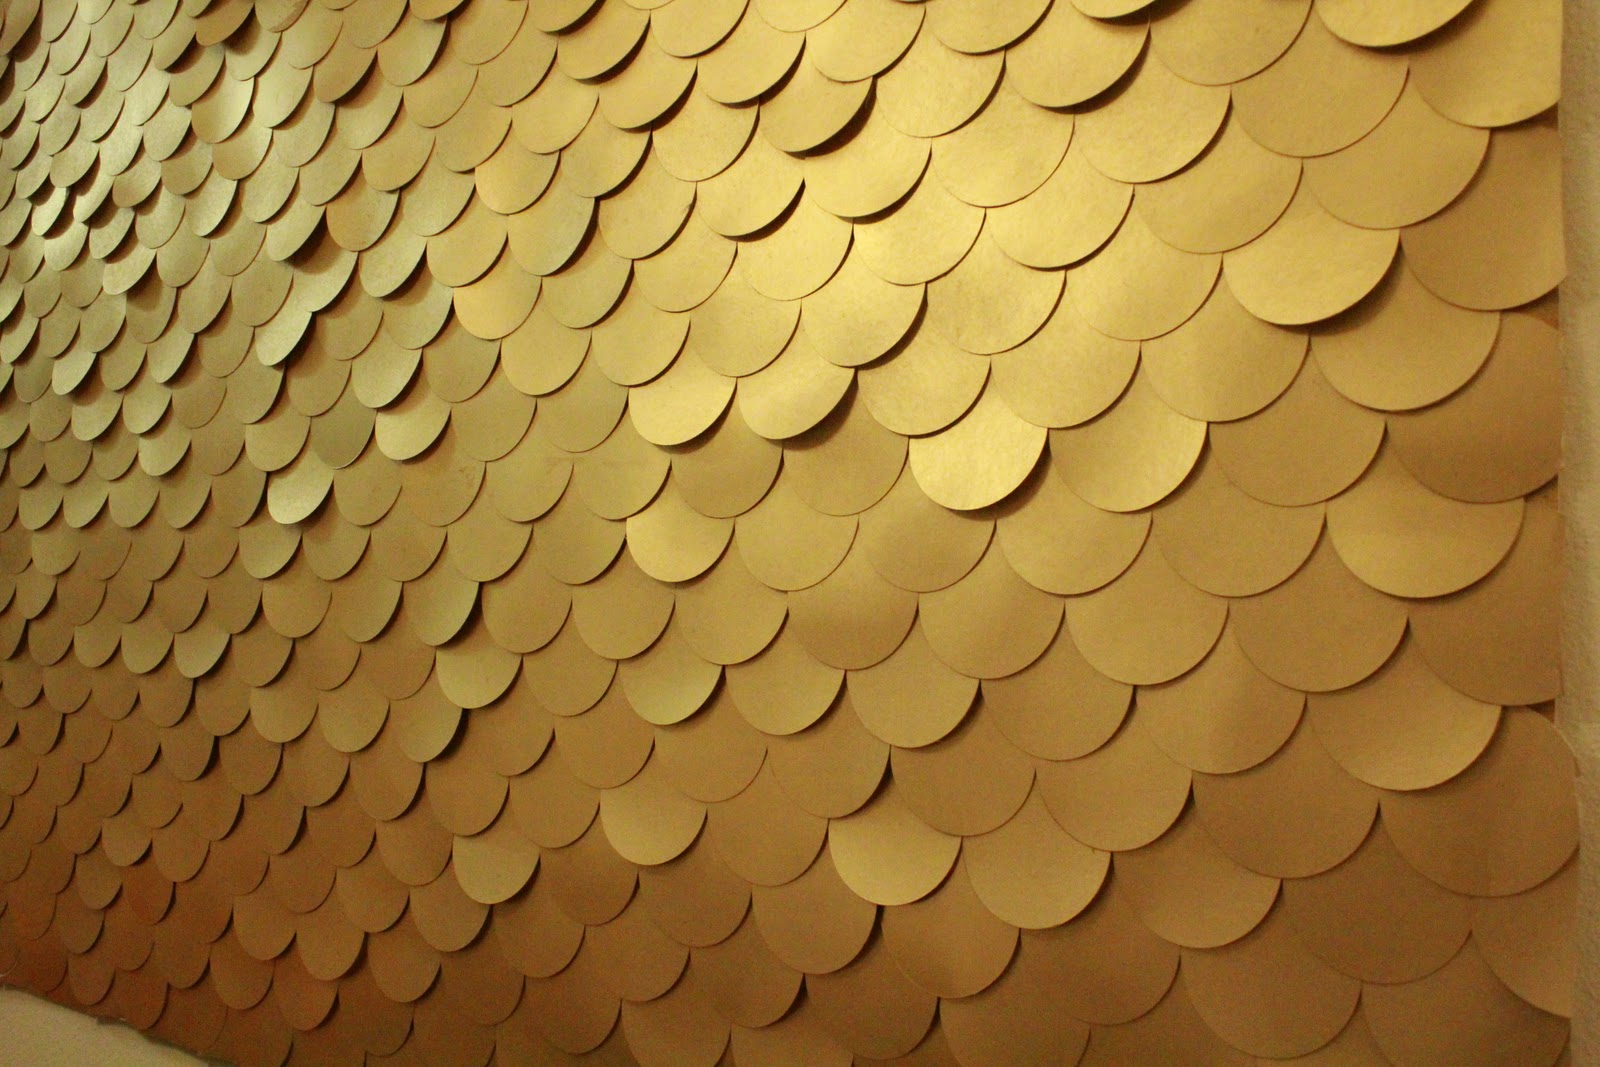
All of my circles were 4 inches in diameter so I marked by board off in 2 inch increments all the way down then started to staple from left to right. The circles are all touching but not overlapping.

Once the first row is down continue to follow your grid by stapling the circles between the circles of the previous rows. I overlapped off of the board itself so that no wood would show once the sides were cut and the molding was put on.
Here are some more in process pictures.


After all the scales were stapled down everything in my apartment got a layer of plastic and I sprayed the whole thing with Valspar Gold Spray Paint (it is the spray paint without the mirrored lid). I let it dry then spray painted the molding as well. Originally I had planned on staining the wood. I did try but the result was a little lacking. For some reason the stain came out tinted green so at about 11pm last night I decided it would look just as good painted gold. I actually really like it with the gold, it gave a sheen that completes the whole thing.
The whole thing is nailed directly into the wall and then the molding on top of that. Here is a closeup of the molding

I ended up not using the miter box to cut the corners, if you do this project once you get to the point where you are hanging it you will understand why! I just needed to see it finished and up on the wall, eventually I will fix those corners, o and perhaps get matching molding!! Late nights at Lowes=mismatched molding!
All in all I think it looks amazing, its a huge wall and I really wanted something that took up a good portion of the wall. Doing the whole wall would be awesome, one day maybe!
And again for your viewing pleasure!


No comments:
Post a Comment